


News
Air Parking Brake
How They work & How to test that they work
Commercial drivers who operate trucks fitted with airbrakes are required to pass an airbrake test to prove knowledge of dynamics maintenance and operation. RV‘s with airbrakes are exempt from the requirement but an understanding of the operation and systems is a must to stay safe and minimize repair costs.
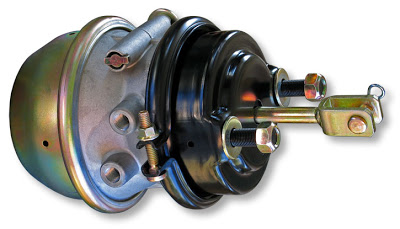
The airbrakes on a RV Coach are the same as that of a commercial BigRig's airbrake systems . Modern systems have automatic air dryers that clear the compressed air of moisture and use automatic slack adjusters to keep the brakes adjusted at the wheels. These two conveniences help reduce bigrig daily maintenance tasks . Low use RV's require additional care as airdryers don't protect from storage condensation. After a long period of humid storage moisture may collect in the tanks and a yearly check and drain is advised. Slack adjusters at every wheel only need to be checked for adjustment and rarely ever need to be replaced unless they fail to provide a proper adjustment on inspection.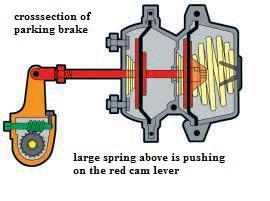 One often overlooked check up is the parking brake. How the parking brake works: When you set the parking brake to park (pull out), air is removed from the chamber at the wheel (pumpkin looking thing). The air bladder in the chamber relaxes and allows a heavy spring to push the brakes tight. In the absence of air pressure the parking brake is set. This explains the loud GOUUHS noise you hear when you set the park brake as the bladder quickly releases the air . When you release the brake (push Knob in) air fills the bladder and compresses the spring, releasing the brake.
For the brake to remain off, the bladder must maintain air pressure while you drive. If the bladder leaks while in transit the park brakes will ;rub lightly against the drum ;wear out ;heat up ;cause a fire and ;render the service brake useless when it come time to stop.
Two test are required to check the parking brake. First test is checking the bladder for leaks. (not part of dot pretrip)
• Start the engine and fill the coach air pressure up.
• Shut down the engine
• Chock the tires and release the park brake
• Go to the rear wheel air chambers and listen for air leaks
• I like to have less than a 10 lb loss of dash air pressure in 30 min
Second test is checking the actual park brake
• Drive coach from a dead stop on level ground slowly forward
• 50 foot at 1 ½ MPH pull on the parkbrake to stop
• This should feel like an abrupt stop and dead stop
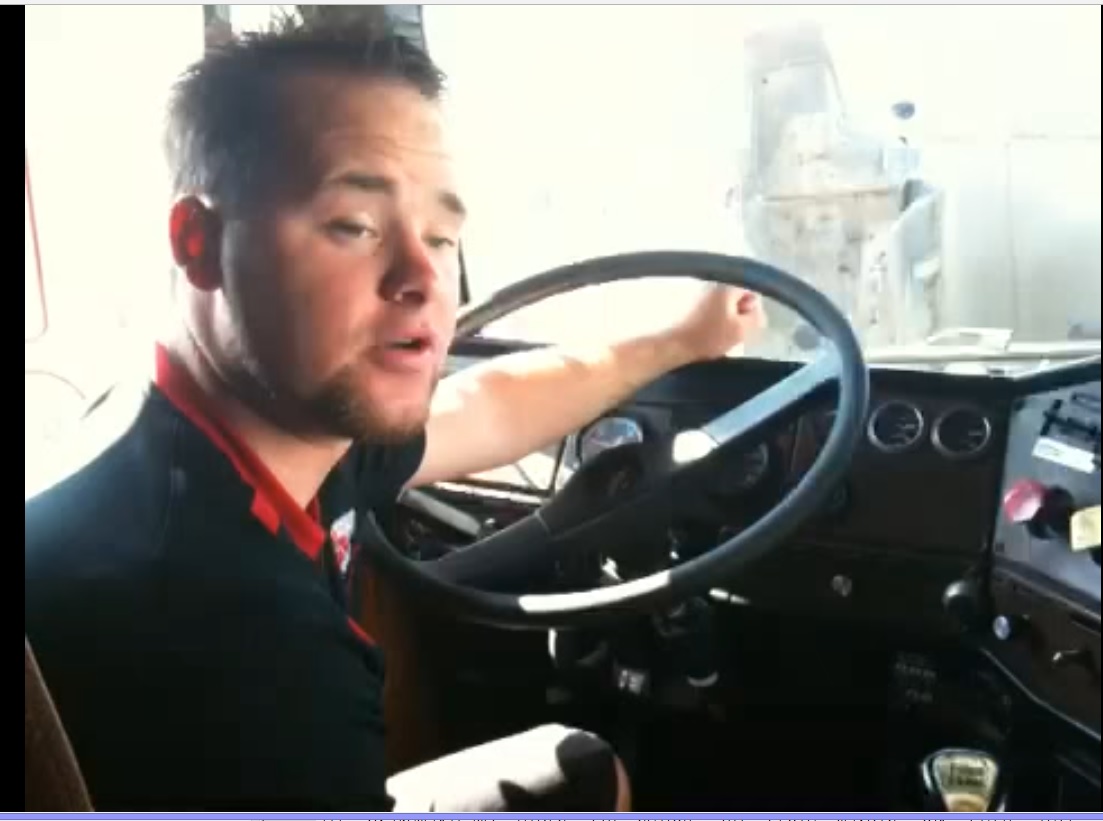
"This parking brake test is only part of the complete air brake pretrip daily test the DOT requires commercial driver to perform, pass and record in their daily logs." Following the simple steps in this video prior to a camp trip can help achieve safe driving enjoyment. Andrew from Advanced school of driving will explain the pretrip airbrake test
a good source with a less technical description on total air brake system is a manual published By the Canada DOT
Priscilla's High Heel
Tim and I had some time this last weekend to do some more work on the high heel shoe prop we built for last years Palm Springs pride parade. TonyP the Palm Springs event host secured a place for us in this years parade and we didnt want to show up without adding something to the mix or making some changes.
The steel frame of the shoe was not our intended final parade entry last year but the look worked as time ran out to cover the frame with some type of finished surface. We experimented with foam and fiberglass with poor results then decided to pull out the singer and review some quick Youtube How To Sew videos.
Tim found some silver sequence spandex fabric at a craft chain and traveled to three locations to collect enough material to complete the project. We needed to have the liner material and sequence-spandex sent out for treatment with fire retardant prior to assembly. I took advantage of our slow work schedule to make a pattern using cotton sheeting and paper for the heel while we waited for the fabric to be treated. We were surprised that the treatment took only two days and we were able to get right to cutting and sewing without any delay.
For the construction of the covers we used a machine to sew the black cotton blend liner then inserted 1/4 inch rods to stretch the cover into shape. The three sections of the shoe were then dressed with the wire enforced liner material then we hand stitched the sequence fabric to the liner.
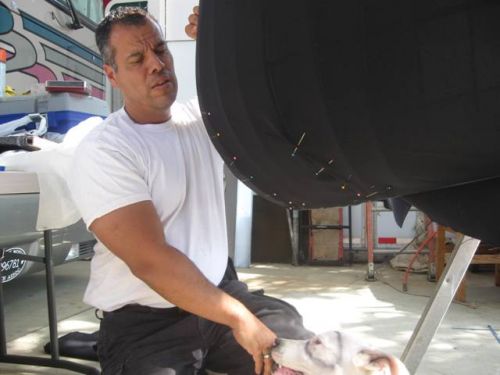
Tim pinning liner sections for machine sewing
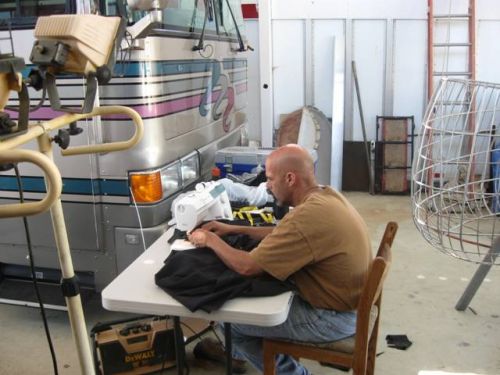
Me sewing the liner material fromTims pattern
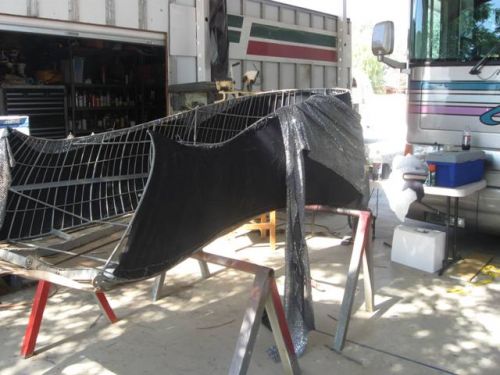
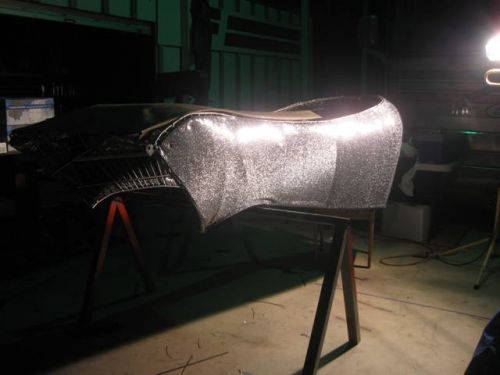
Liner installed and wire stretched
Some of the frame work shows through but I think we can soften it a bit with jute upholsters webbing prior to dressing the sections with the finished covers. Our next project is working on a trailer to put in the parade. It is our hope to soon use these props to promote the club and attract members from other cities and states.
the long section hand stitched, all sections now done ad stripped
I hope everyone joins in and marches with us in the parade this year. It looks like we will have 150 members in Palm Springs. Everyone had a blast last year. I look forward to the parade and enjoy working with Tim on this project. Let me know what you think.
Greg